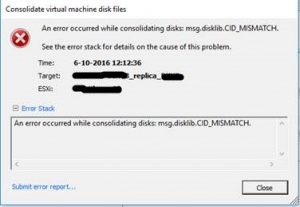
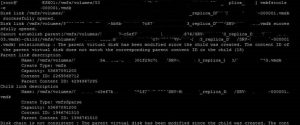
Veeam does not have a built-in function to remove restore points manually, it took me a while but after trying a lot of different ways and scripts I have found a way to do it. (Please note that this is a last resort, Veeam should clean-up old restore points by itself)
- Go to Backup & Replication -> Backups.
- Right-click the job you want to edit and click ‘Remove from configuration’ (Do not delete from disk!).
- Open the Windows Explorer and browse to the job’s folder in the backup repository.
- Delete the restore points you want to remove, and delete the .VBM file.
- Re-import the most recent .VBK file in the Veeam.
- Run the following script using the Veeam Powershell to generate a new .VBM file:
#[Veeam.Backup.Core.CCredentilasStroreInitializer]::InitLocal() to work with Lin repository $backupName = Read-Host "Enter backup name for meta regeneration" Add-Type -Path "C:\Program Files\Veeam\Backup and Replication\Backup\Veeam.Backup.Core.dll" [Veeam.Backup.Common.LogFactory]::InitializeConsoleLog() Try { $backup = [Veeam.Backup.Core.CBackup]::GetAll() | Where { $_.Name.Equals($backupName) } | Select -index 0 if ($backup -eq $null) { throw ("There is no backup with specified name : " + $backupName) } $storageAccessor = [Veeam.Backup.Core.CStorageAccessorFactory]::Create($backup) [Veeam.Backup.Core.CCredentilasStroreInitializer]::InitLocal() $metaUpdater = New-Object Veeam.Backup.Core.CSimpleBackupMetaUpdater $metaEx = new-object Veeam.Backup.Core.CBackupMetaEx -ArgumentList $backup, $storageAccessor, $metaUpdater $metaEx.GenerateAndSave() $metaFilePath = $backup.GetMetaFilePath($storageAccessor.FileCommander) Write-Host "Successfully saved meta for backup $($backupName) on $($storageAccessor.Name) : $($metaFilePath)" } Catch { Write-Host $_.Exception.Message Write-Host $_.Exception.StackTrace Write-Host $_.Exception.InnerException.Message Write-Host $_.Exception.InnerException.StackTrace Break } $Reader = [System.IO.StreamReader] $metaFilePath $MyString = $Reader.ReadToEnd(); $Reader.Dispose(); $removeString = 'LinkId="00000000-0000-0000-0000-000000000000"'; $index = $MyString.IndexOf($removeString); $lengh = $removeString.Length; $start = $MyString.Substring(0, $index); $end = $MyString.Substring($index + $lengh); $clean = $start + $end; $writer = [System.IO.StreamWriter] $metaFilePath $writer.WriteLine($clean); $writer.Close(); - Remove the imported backup from Veeam
- Re-scan the backup repository (Backup Infrastructure -> Backup Repositories)
- Go to the associated backup job and re-map the backup. You can do this by editing the job, going to the Storage-tab and click Map backup.
And that’s it! Now you’ve reclaimed the disk space you needed, removed corrupted backups, or whatever reason you had for removing the restore points.


